The following is a training module that describes how to direct an episode or show in the DMVSTREAM.COM studio.
 STOP HERE AND READ BELOW
Before attempting to take any of the following training courses, please email [email protected] and request access to our shared drive by supplying your GMAIL address. It MUST be a GMAIL address. If you do not have one, please create one. Much of what we do and how we communicate is predicated on the use of Google Drive. You will be unable to move forward with the information below without it.
How to direct the PrepZone
STEP 1 – Work with talent to determine what games will be discussed on the show
Talent should be filling out studio content submission forms for their recaps and previews, each Monday by 2 p.m. Most games should be coming from games we have shot during the week for The Washington Post, which can be found here. It is important that recaps and previews have video to accompany them, whether that is from Synthesis Multimedia, or another outlet that is willing to share their video. If you are going to use video that is not owned by Synthesis Multimedia or from Hudl, be sure to ask your supervisor first if it is okay to use.
STEP 2 – Email interns to have video highlights created
Email the interns that are working on the show to have video highlights for recaps and previews created and uploaded to the Drive by Tuesday at 5 p.m. Highlight videos should be uploaded to that episode’s corresponding highlights folder and should be uploaded from B.J. Koubaroulis’ G-Drive account. Be sure to review the highlights to make sure it is the correct the video and that everything looks and sounds good.
STEP 3 – Put together run sheet
Run sheets included a step-by-step basis of what the show will look like and each recap/preview that will be discussed.
With all of the information from the talent, as well as guest appearances and pre-taped segments, put together a run sheet that lists call times for everyone, including when guests should arrive and be prepared to tape.
Be sure to update reads for commercials as well as lead-ins to a break for a pre-taped segment. Here is an example of a run sheet.
STEP 4 – Have graphics created
Pass along information that talent has sent, as well as the run sheet to whomever is responsible for creating graphics, so that they can create and upload graphics to the graphics folder for that week’s show.
STEP 5 – Email the group all of the information for that week’s show when everything is finalized.
Email the talent that will be participating in that week’s show, as well as [email protected].
Below is an example of the email you should send to the group. Note that you’ll need to link to the graphics and highlights folder, so that talent can review those.
Hello all,
I have attached the run sheet and notes the talent sent in for tomorrow’s episode. Also, the graphics and videos are uploaded in the corresponding folders for tomorrow’s show.
They can be found through these links as well
Graphics:Video clips:
Please make sure to review all of the graphics and video in advance of tomorrow, and let me know if there need to be any changes.
IF YOU ARE HOSTING: Please be sure you are reading through the run sheet, noticing all of the reads for commercial/pre-tapes.BEING ON TIME: Traffic can be, and is often, bad at this time. Please account for this and give yourself plenty of time to arrive to the studio in Fairfax at 5:45 p.m., wherever you’re coming from. The earlier everyone arrives, the earlier we can all be done and out of there.Please confirm receipt of this email.
I look forward to working with you all tomorrow.
Sincerely,
STEP 6 – Download graphics and video
Be sure to download all graphics and video necessary for that week’s show, including any new commercials and any pre-prepared segments (such as a sit-down interview between Jackie Sagar and Suzanne Dolan) that will run during that show.
Download all of these elements and transfer them to a thumb drive that you will bring with you to the studio.
STEP 7 – Set up the studio
- After arriving at the studio, turn on the TriCaster and pre-load the graphics and videos from your thumb drive, as well as any other elements.
- Be sure to turn on all of the cameras, as well as monitors in the studio, including the TV behind the talent table that will have the DMVStream logo on it. The MacBook is to the left of the director desk above the TriCaster and has the DMVStream logo.mov on it in iTunes. If it won’t appear, you will need to restart the computer and play that video again in iTunes, in full-screen mode. It’s important that the player controls aren’t visible when this video is in full-screen mode.
- While the files are loading into the TriCaster, turn on the DVD recorder, and insert a +R DVD and format it. At this point, you can also fill out the submission drop-off form for FPA.
STEP 8 – Organize files in TriCaster
Once all of the files are done uploading into TriCaster, open up the ‘studio’ project and add the graphics to the graphics bin and the videos to your DDR bin. Be sure to arrange the graphics and videos (both highlights and commercials) in the order that you’ll need them during the full, 28-minute show. Some videos will be pre-tape segments that you’ll have to record first and then trim to run during the show.
STEP 9 – Record pre-tapes
Record all pre-tape segments before the taping of the full episode. If there are fewer than three people on set, it is important that only their microphones are on; any microphones not in use should not be on, otherwise they will pick up sound as well.
STEP 10 – Trim pre-tapes for full show
After your pre-taped segments are recorded, trim the ones that you are going to use in the show, and put them in place according to the run sheet.
Transfer the pre-taped segments to a thumb drive and upload them from the studio computer onto Vimeo and Google Drive, while you are taping the full show.
STEP 11 – Record full show
- After all talent has arrived for the full show, sit them down at the table and mic them up.
- Make sure their shots are framed properly, not cutting off the top of the head or giving them too much space above their head.
- Check each person’s audio, making sure it is clean (not brushing up against shirt, necklace, hair, etc.) and that it is not too loud or soft.
- Make sure the microphone is placed properly as well. The microphone should be place as close under their chin as possible and should lay flat and clean on their shirt.
Here is an example of a microphone being placed properly: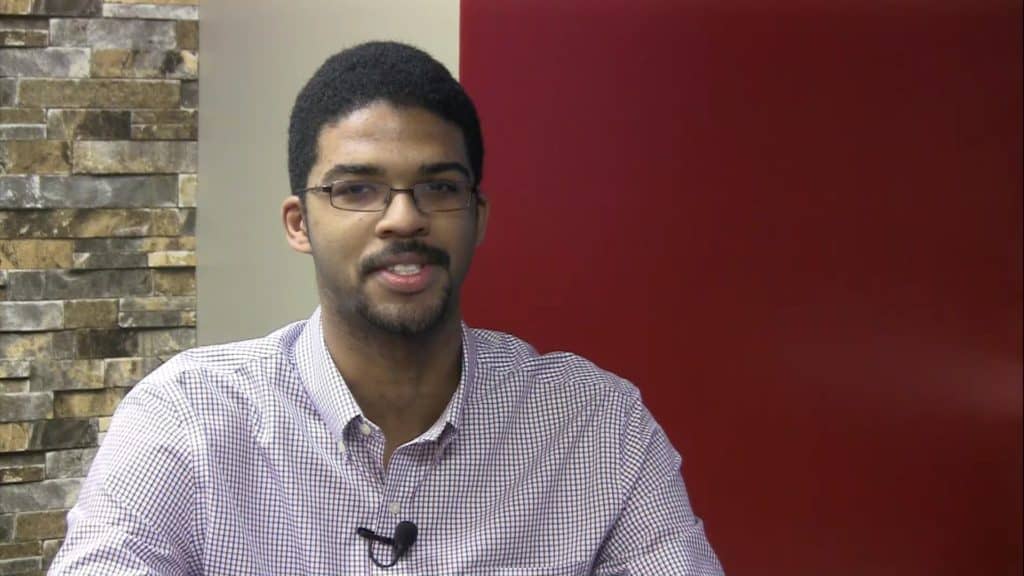
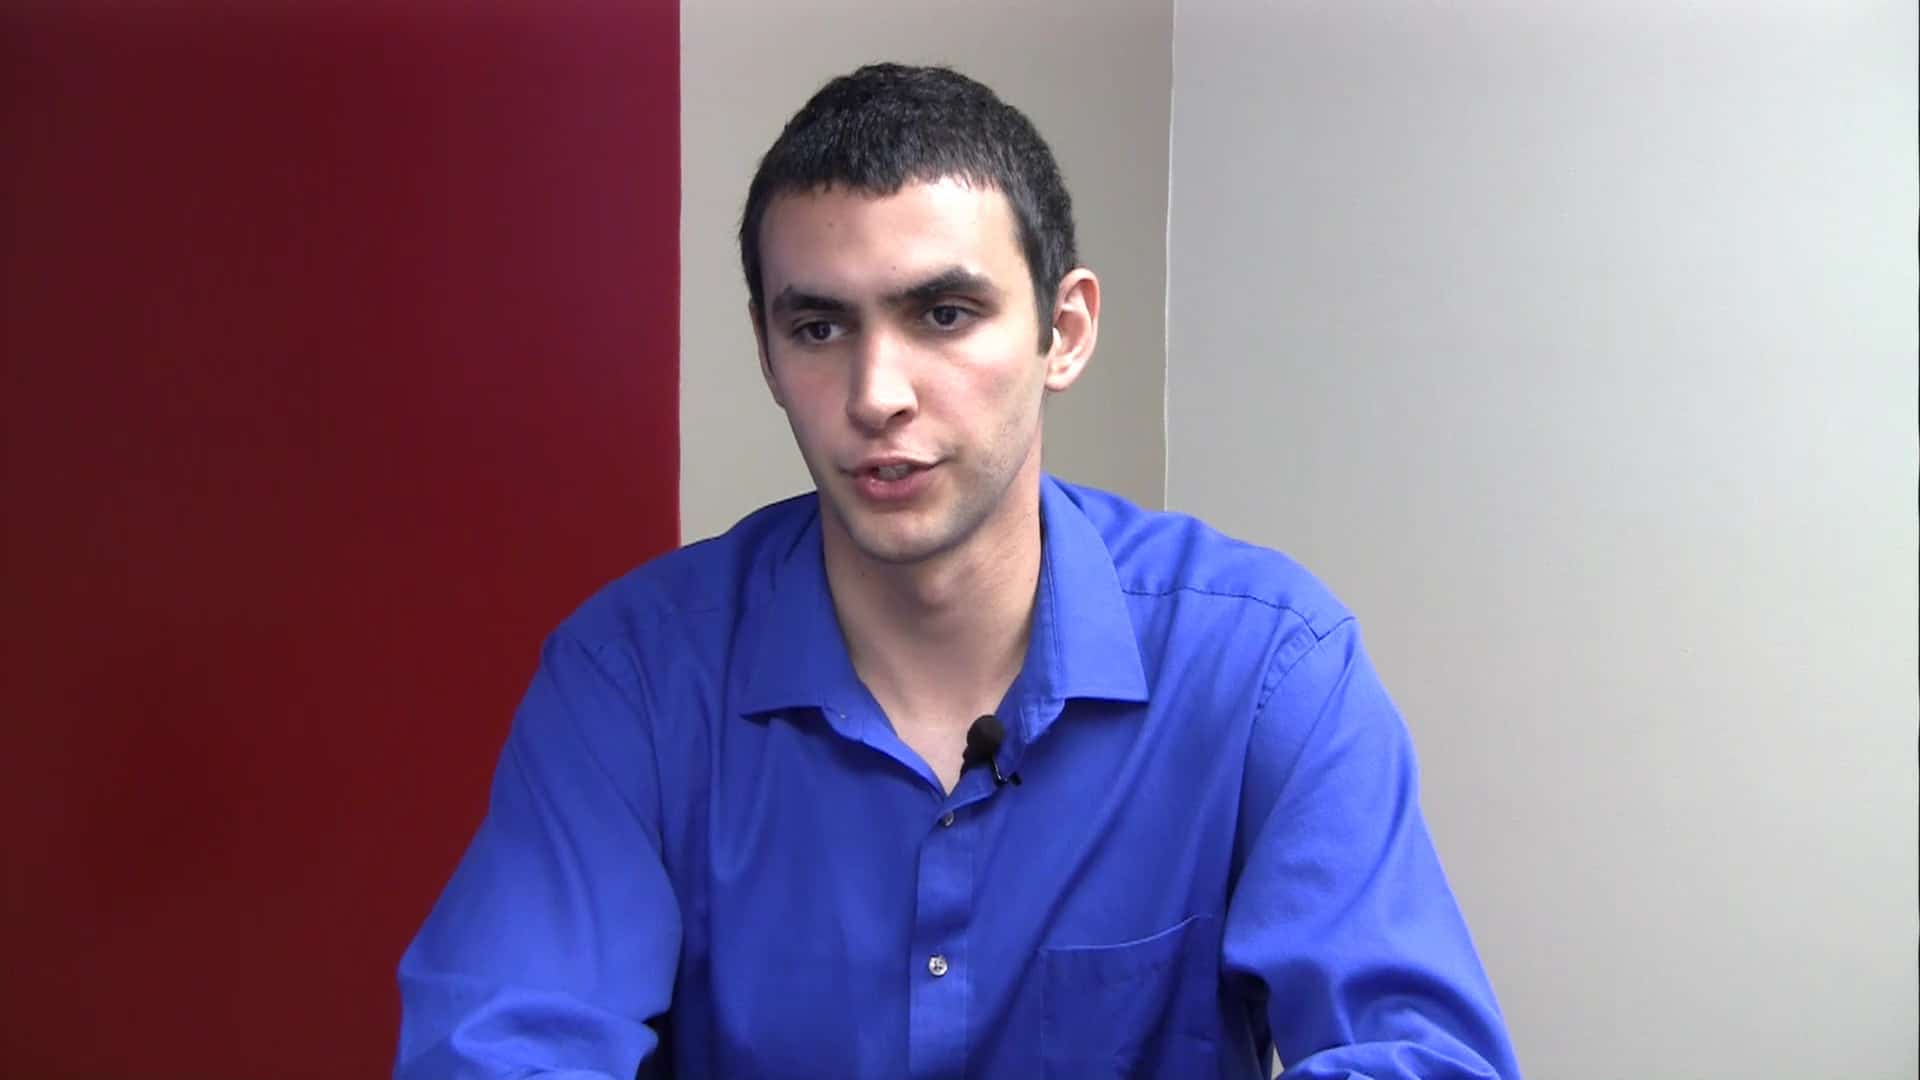
Here is an example of a microphone being placed poorly:
- When you are ready to start the show, start the recording in the TriCaster, followed by hitting record on the DVD player. Once the DVD player indicates it is recording, you can roll in the ‘PrepZone intro.’
- The DVD recording should be stopped at exactly 28 minutes.

STEP 12 – Transfer files and finalize DVD
Once you are done with the full show recording, exit out to Windows, and transfer the show file to a thumb drive. While the file is transferring, push the eject button on the DVD player. This will be prompt the DVD player to finalize the DVD. Hit ‘yes’ to allow it do so. Once the DVD is finalized, it will play back. Fast forward through the DVD, playing back parts of it to make sure it recorded properly. Once that DVD is good, that is your master copy.
Take the master copy DVD and make 2 additional +R DVD copies in the DVD duplicator machine located beneath the table.
STEP 13 – Upload show
With the file transferred to a thumb drive, shut down the TriCaster. Plug the thumb drive into the back of the studio computer, and upload the full show file to Vimeo and Google Drive. An intern should be sticking around to monitor the progress of the uploading. If there is no intern there, you will need to monitor the progress of the uploading.
STEP 14 – Deliver duplicate DVDs to FPA
Instructions for that can be found here. The DVD should be dropped off as soon as the taping of the show is finalized and the duplicate DVDs are created. An intern should be dropping off the DVD. If there is no intern there, you will need to drop off the DVD.
STEP 15 – Send out a reminder email for next week’s show
Send out a reminder email to the talent for next week’s show. This email should be sent to all talent that will be participating in Wednesday’s show and should also be emailed to [email protected]. This email should be sent out at least a week in advance, and should look like this:
Hello,
This is a reminder email about your appearance on The PrepZone, next Wednesday, X, at our studio in Fairfax, VA (address is 4031 University Drive Farifax, Va).
If you have not appeared on the show before, or have questions, please read this page: https://dmvstream.com/how-to-guide-the-prepzone-at-dmvstream-com/
Please notice our deadline for info submission (which is very simple) is Mondays by 2 p.m.
Please let me know if you have any questions.
Sincerely,